Would you like to build underground bases in Enshrouded? Enshrouded is a game where you can build your underground bases and explore a post-apocalyptic world.
In this article, I will show you how to build an underground base in Enshrouded using a special material called luminous growth.
This home is buildable from the early game, so if you are interested in skipping the game starting location and plopping down your first home, grab a suitcase and move down here.
After reading this article, you’ll know exactly how to build your underground dwelling, whether in this underground or another one.
Why Choose an Underground Base in Enshrouded??
An underground Base home has many benefits in Enshrouded. Here are some of them:
- Cozy and cool: An underground base can be quite cozy and cool with the help of luminous growth. Luminous growth is a glowing blue rock that gives off an eerily blue light, perfect for creating all the ambient light we’ll need in our underground base.
- It also looks awesome and futuristic, which adds to the appeal of our home.
- Safe and hidden: An underground base is also safe and hidden from the dangers of the surface. Living underground prevents radiation, storms, enemies, and other hazards. You can also make your home hard to find and access using traps, puzzles, and secrets.
- Spacious and resourceful: An underground base can also be big and creative, as you can dig and build as much as you want. You can create rooms and facilities for different purposes, such as storage, crafting, sleeping, farming, etc. You can also access more resources than surface homes, as you can mine ores, metals, gems, and other materials. You can also find hidden treasures and secrets in the underground.
- Enshrouded Unlock All Building Blocks & Materials Quest, Location
- Enshrouded Unlock All Hidden Building Blocks Quist
- Enshrouded: How To Build Better Windows
- Enshrouded – How To Build A Medieval Mansion?
- Enshrouded Dirt Road Block – Full Guide
- How To Build a Blacksmith in Enshrouded?
- How to Build Cozy Starter Cabin in Enshrouded?
- How To Build A Medieval House in Enshrouded?
Underground Site Selection For Underground
- Convenient Location: Choose a cave near the ancient spire and Brailen Bridge to access building materials easily.
- Luminous Growth: Look for caves with luminous growth glowing blue rocks perfect for ambient lighting in your Underground.
The first thing you need to do is to find an Underground site. You can choose any cave you like, but I recommend this one because it has a lot of luminous growth deposits.
To find this cave, you must go to this location on the map, near the ancient spire and the Brailen Bridge. You must run to the southwest until you see the cave entrance. This is the Underground we will use for our base.
Establishing Your Base
- Altar Placement: Experiment with altar placement for optimal resource gathering and construction space.
- Mining Technique: Use tunneling to access deposits efficiently, ensuring easy mining operations.
- Overcoming Challenges: Address mining dilemmas by burrowing through rock surfaces for smoother access.
Building Cozy Hobbit House in Enshrouded
How to Build Underground Bases in Enshrouded??
Building Details
- Floor and Wall Construction: Natural stone pillars and wooden walls create a homely atmosphere.
- Adding Pizzazz: Incorporate decorative elements like luminescent blocks for a unique touch.
- Creating Overhangs: Expand your space with overhangs and decks for additional room and functionality.
To build an underground base, you’ll need to follow these steps:
- Place an altar: The first thing you must do is place an altar in the underground base. The altar is a device that allows you to build and craft in a certain area. You can put it anywhere, but I suggest placing it near the luminous growth deposits so you can mine them easily. However, you don’t want to place it too close, as any mining you do within the altar region will be permanent, and you want to maintain the cave’s natural beauty. You want to find a balance between being close enough to build near the deposits and being far enough to mine them without affecting the altar region. I placed my altar here, in the main underground base, right about at the top of the incline in the first underground base. You can see the border of my altar here and how it is close to one of the ceiling deposits and just nudging up against the ground deposit.
- Build stairs: The next thing you need to do is to build stairs to reach the luminous growth deposits. You’ll need a shovel or a pickaxe to dig the ground and some materials and tools to build the stairs. You can use wood, stone, metal, concrete, or other materials. You can also craft furniture, machines, weapons, and other items to place in your home. I built some 4-meter stairs and extended them higher to reach the ceiling deposit. This is about as close as I can make it, which allows me to mine the deposit. However, getting the mining position is awkward and ugly, as the space won’t allow me to position the stairs seamlessly. Fortunately, there is a solution for that.
- Tunnel through the wall: To create a direct connection between the ground and the elevated stairs, the solution is to tunnel through the wall. This way, you can access the deposit more easily and aesthetically. To do this, you’ll need to remove a bunch of rock from the base of the elevated stairs through the underground base wall until you reach the ground level. You can use a shovel, a pickaxe, or explosives to dig faster and create tunnels. You can also shape the tunnel however you want to make it more interesting and unique. It is rather dark here, so you’ll need some light to see what you’re doing. You can use some of the luminous shapes to provide some light. These are temporary before we have more permanent light, but they will work in a pinch. You can place them anywhere in your home, and they will glow and illuminate the area.
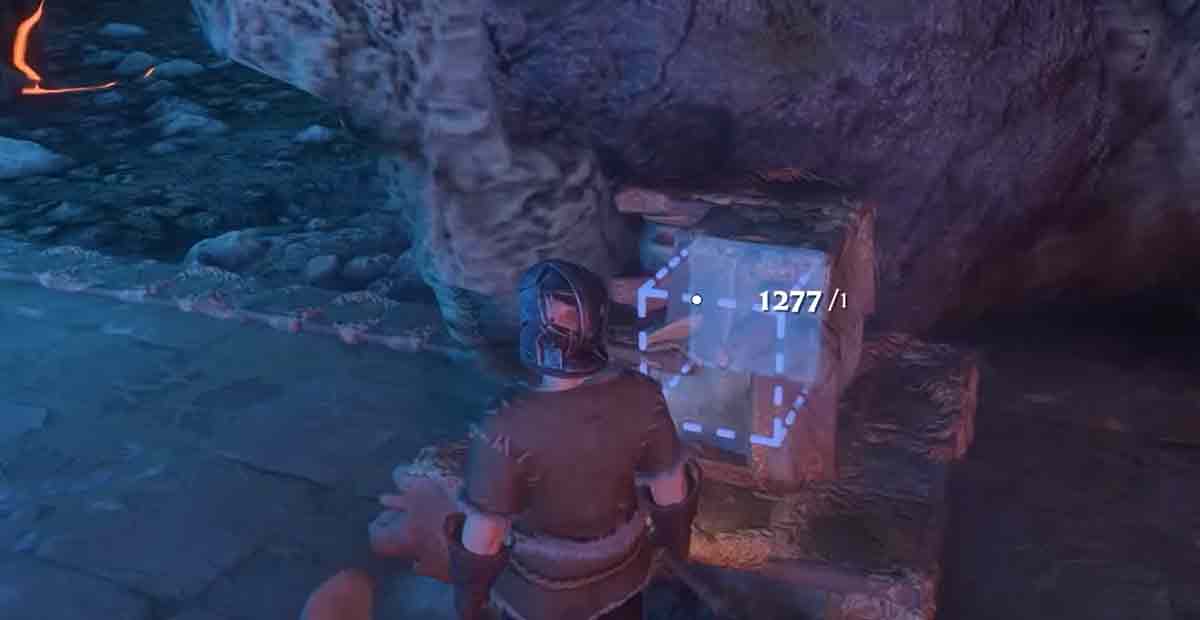
- Mine the luminous growth: Once you have the stairs and the tunnel ready, you can mine the growth. You’ll need a pickaxe or a drill to mine the rock and get some luminous shards. These shards are the main material we’ll use to create our underground base home. You can mine as much as you want, as the deposits will respawn after some time. You can also mine the other deposits in the underground base, such as the ground deposit and the additional ceiling deposit. You’ll need to build more stairs and tunnels to reach them, but it’s worth it. You can also explore the rest of the underground base and see if you can find more deposits, treasures, or secrets.
- Decorate your home: The last thing you need to do is decorate your home with luminous shards. You can use them to create different shapes and structures, such as walls, floors, ceilings, pillars, arches, windows, doors, etc. You can also use them to create different colors, lights, and decorations, such as blue, green, purple, red, yellow, etc. You can add plants, paintings, and other objects to make your home more cozy and personal. You can be creative and build anything you want in your home. You can create rooms for different purposes, such as storage, crafting, sleeping, farming, etc. You can also make traps, puzzles, and secrets for fun and security.
- Enshrouded: How To Build Better Windows
- Find Enshrouded Oswald Anders Chest Quest Guide
- Best Enshrouded Archer Build S-Tier, Stats, Skill and Gear
- Enshrouded Mistbury Catacombs Buttons Puzzle Solved
- Enshrouded – How To Build A Medieval Mansion?
- Enshrouded Best Character Builds – Skill Tree, Gear & Stats
Luminous Growth
Luminous growth is a blue rock that glows in the dark. It is very useful for building underground because it provides light and looks awesome.
You can mine it with a pickaxe or a drill, and you will get luminous shards. These shards are the main material we will use for our base.
You can use them to create different shapes and structures, such as walls, floors, ceilings, pillars, arches, windows, doors, etc. You can also use them to create different colors, lights, and decorations.
Final Touches and Details
- Column Construction: Build supportive columns for aesthetics and structural integrity.
- Wall Embellishments: Add borders and details to windows and doors for a polished look.
- Sleeping Quarters: Carve out a cozy nook for your bed tucked away for a peaceful rest.
Tips and Considerations
- Range Management: Upgrade your altar strategically to avoid covering essential luminous growth deposits.
- Personalization: Customize your base layout to suit your preferences and needs.
- Enjoyment: Sit back, relax, and enjoy your newly constructed cave haven in Enshrouded!