How To Build a Cozy Hobbit House in Enshrouded? We’re diving into the newly released survival-building game “Enshrouded.” Building a hobbit hole has always been a dream of mine, and this game might just let me do it better than any other.
So, grab a snack and drink, and let’s get right into it!
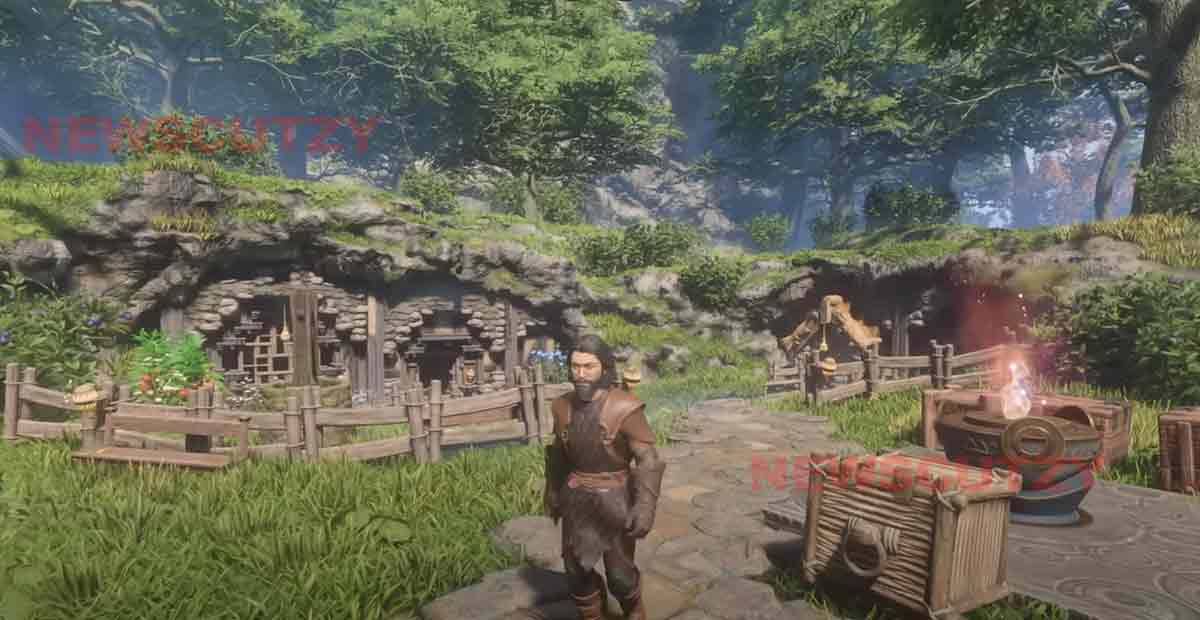
Enshrouded: Building Cozy Hobbit House
I’m stoked to share my journey of building a hobbit house as my main base in Enshrouded. If you’re into cozy and charming dwellings, this is for you. Let’s dive right in!
- Enshrouded – How To Build A Medieval Mansion?
- Enshrouded Dirt Road Block – Full Guide
- How To Build a Blacksmith in Enshrouded?
- How to Build Cozy Starter Cabin in Enshrouded?
- How To Build A Medieval House in Enshrouded?
1. Choosing your Location:
- Embrace the Landscape: Look for a natural hillside to integrate your hobbit house. This saves on building materials and creates a more immersive feel.
- Accessibility and Comfort: Consider factors like proximity to resources, sunlight exposure, and environmental dangers.
2. Digging the Base:
- Pickaxe Power: Use your pickaxe to carve out the basic shape of your hobbit hole.
- Shape it Up: Aim for a circular or semi-circular shape with a slightly sloped floor leading towards the back.
- Size Matters: A good starting size is roughly 3-4 blocks wide and 3-4 blocks high (including the ceiling).
3. Building the Walls and Roof:
- Sturdy Support: Use sturdy materials like stone or wood for the walls and roof frame.
- Curved Comfort: Create a curved roof using angled blocks to mimic the classic hobbit hole look.
- Leaving Space: Remember to leave openings for doors and windows.
4. Crafting the Entrance
- I decided on an elevated entrance for that authentic cave-like vibe. I set the ground level using regular ceiling pieces and crafted a 4M door frame.
- Single wall blocks added a handcrafted touch, while a wooden door completed the look. Illuminating the entryway with Firefly lamps added a whimsical charm.
5. Adding Details and Functionality:
- Flooring: Lay down stone or wooden floorboards for a finished look.
- Doors and Windows: Craft and place doors and windows using appropriate materials like wood or Shroud wood.
- Light it Up: Use firefly lamps or other light sources to create a warm and attractive environment.
6. Personalize and Decorate:
- Furnish it Up: Craft furniture like beds, chairs, and tables to make your hobbit hole feel like home.
- Wall Decor: Hang paintings, shields, or other decorations to personalize your space.
- Exterior Touches: Plant flowers around the entrance, add a path leading up to your hobbit hole, or create a small garden.
- Enshrouded Unlock All Building Blocks & Materials Quest, Location
- Enshrouded Unlock All Hidden Building Blocks Quist
- Enshrouded: How To Build Underground Base
- Enshrouded: How To Build Better Windows
Interior Touches and Extensions
- Terraforming for windows brought natural light inside, enhancing the cozy ambiance. Stone flooring and additional windows added warmth and character.
- Extending the base with stone steps and sculptural rock formations added depth and visual interest. The dramatic archway leading to the candle-lit interior felt like a triumph.
Extra Tips:
- Hidden Depths: Consider digging a deeper room or storage space within your hobbit hole.
- Secret Passage: You can even create a hidden passage leading out from your home for an extra touch of hobbit-ness.
- Community Spirit: If playing with friends, consider building a network of interconnected hobbit holes for a charming hobbit village.
Remember, this is just a basic guide, and you can customize your hobbit house to your liking!
Explore different building materials, experiment with layouts, and have fun creating your own unique and cozy haven in Enshrouded.
You can check out [YouTube] videos showcasing hobbit house builds in Enshrouded for further inspiration and visual references.