
Voice Memos on iPhone 🎼 : Voice Memos is one of our top pick, most-utilized applications. We use it to record our meandering aimlessly ideas and thoughts when we’re all over town, and we use it to catch melodic thoughts when we’re messing around with instruments.
We don’t have to go after our iPhone or iPad: we have it in that right as intricacy in our Apple Watch faces so it’s constantly handy.
It’s all very straightforward and intuitive apart from one thing: it’s automatic naming, which uses your location unless you’ve turned the feature off. If like us, you don’t want your recordings named ‘High Street 1’, ‘High Street 2’, and so on, you can turn this feature off in Settings > Voice Memos > Location-Based Naming. And you can rename any voice memo by tapping its name twice.
1. Record your idea
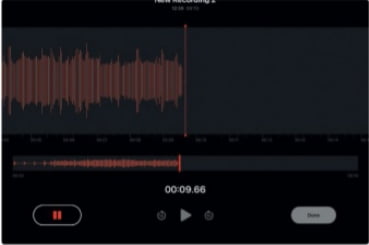
Press the big red button and start singing, playing, or doing whatever else you’d like to record. You’ll see the waveform appear as you record. Use the Pause button for a temporary stop or Done to save and stop recording.
Also Read: Find My iPhone How To Turn On IOS 13
2. Fix the recording
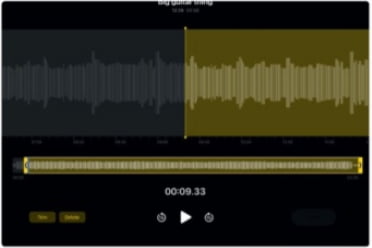
iOS 13 added the ability to edit your recording, which is really useful. Tap on Edit at the top right of the main screen. You can now trim the recording by dragging the start and end or use Replace to record over a section.
Also Read: Do You Need AppleCare+?

When you’re happy with your recording, just tap on the Share icon (top left of the recording window) and choose your recipient or the app you want to send it to. Voice Memos uses the widely supported M4A format.
Also Read: Create Epic IPad Screenshots With Picsew 👑 – IOS13 | [2020]