
Remove Evaluation Copy Watermark Windows 11: I explained several methods to remove the Windows watermark permanently in this post. You can even remove the Windows 11 watermark permanently, or you can activate Windows 11 forever.
People have experienced that no one specific method works for all. If one is not working, you can try several different methods to remove the Windows watermark forever.
How To Check If Windows 11 Is Activated or Not?
Right-click on Start menu > Click on Settings > System settings >
Scroll down and click on the Activation option > Check the Activation State status. If it’s showing Activated or not.
What Will Happen If You Never Activate Windows 11?
So, first off, what exactly happens if You don’t activate Windows 11? Well, the answer is really not much. In previous versions, there was a grace period of about 30 days.
Before that, there was no issue. It would run like normal. But after 30 days, things would get a bit screwy. However, in the current version of Windows, there is no time limitation is not showing.
a) The first, of course, is the most obvious. It’ll show at the bottom right on the wallpaper that you have not activated windows yet. It’ll tell you to activate Windows 11.
B) Besides those, the only thing you actually would notice is The only limitation imposed on you is that you can’t customize Windows in any way. So you can’t do custom taskbar colors. You can’t set a custom Windows desktop background. You can’t do anything in the personalization settings.
What is The Windows 11 Evaluation Copy Watermark?
Suppose you have already installed Windows 11 insider preview build. Then, after the recent update, you might have noticed there will be a watermark appearing at the bottom right corner of your desktop. You can see the Watermark in the Windows 11 incident preview build. The build number is some random numeric number.
(For example, 22454.000..etc.). This Watermark did not appear in the previous build. This is called the Windows 11 insider preview build watermark.
Why is the Windows 11 Evaluation Copy Watermark showing?
So why is this Watermark appearing in this build? Because Microsoft is going to release a stable build. The release date is coming soon. so many insiders will get this prompt to identify the current build version.
This Watermark is to tell your current Windows version. You can see this Watermark only in the dev or beta channel build.
HOT TOPIC: Speed Up Windows 11 | Optimization For Gaming and Development
Method 1: Remove Activate Windows 11 Watermark Permanently Using Watermark Disabler (Universal Watermark disabler)
So, I just set up my Windows 11 a few weeks ago. I got the new Windows 11 insider preview. Now. That was awesome until it was updated today. After the update, in the bottom-right corner, some text said that this is a Windows 11 Insider Preview Build.
And it looked like it was just going to stay there forever until it finally upgraded to a new version that didn’t need that text anymore. I didn’t know how to get rid of it. And I tried going into the registry, and that just didn’t work.
Then I found this really awesome little program. It’s a Universal Windows Watermark Disabler, which has worked since 2015 on all the different versions of Windows.

Step 1: So I downloaded that. I just went to this website Windows Watermark Disabler. And I downloaded this little small program right here.
Step 2: After it’s downloaded. You need to rename this zip file. I have named it UWD.

Step 3: Next, you need to extract the UWD zip file. After that, You can see a .exe extension file.

Step 4: You need to double-click on the .exe file, and there we go. Click on the Install button. It was very easy.
It should automatically log you out and log you back in within about a minute; it completely fixed the problem. It will completely remove the Windows 11 insider preview watermark forever.
That’s really nice. Nobody likes that Windows 11 watermark text there. That’s just distracting. So that should be it.
Method 2: How To Activate Windows 11 Permanently Or Forever
First of all, You need to download a small cmd file from the link. This is just a small script to automate Windows 11 activation. You can open the file using Notepad and view all the commands it runs.
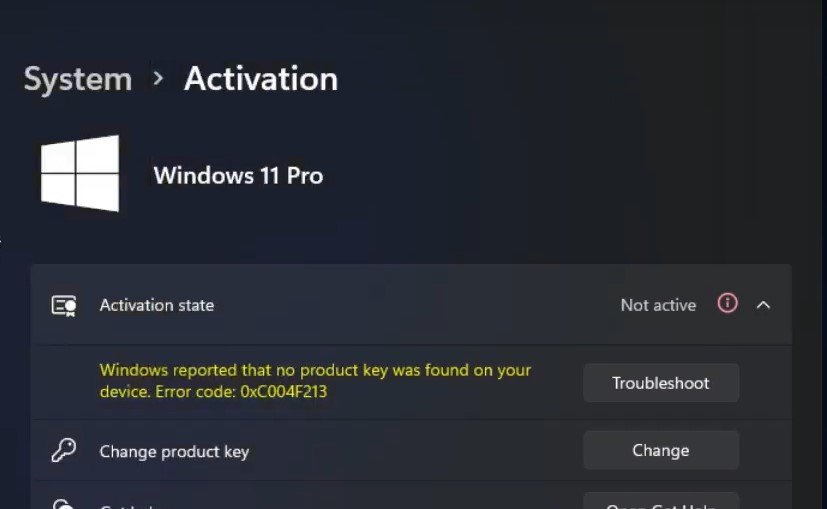
1. To run, double-click on the file. It will ask for your permission. Please click on “Yes” to give permission. It will open a Command Prompt window. As you can see, Currently, my Windows 11 is not activated (See above picture), but we will remove the Activate Windows 11 Watermark Permanently using the cmd.
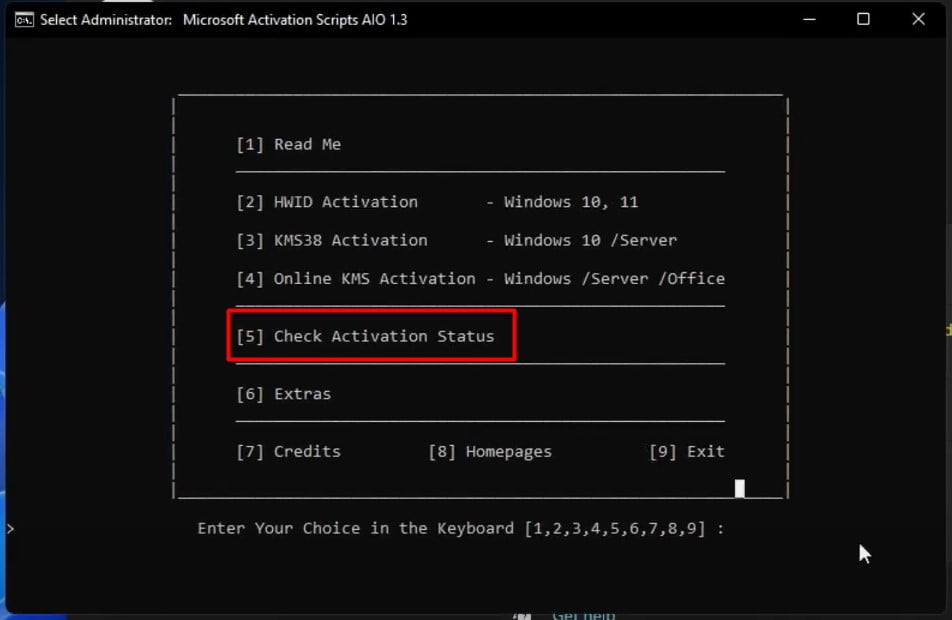
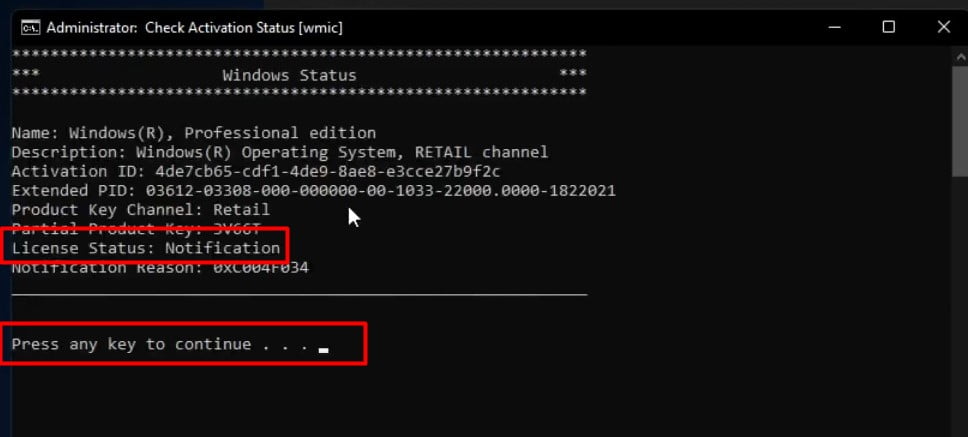
2. Next, In the command window. You can see the number 5 option [Image 1]. Check your current activation status. Press 5 on your keyboard. It will start to execute. To go back, just press any key.
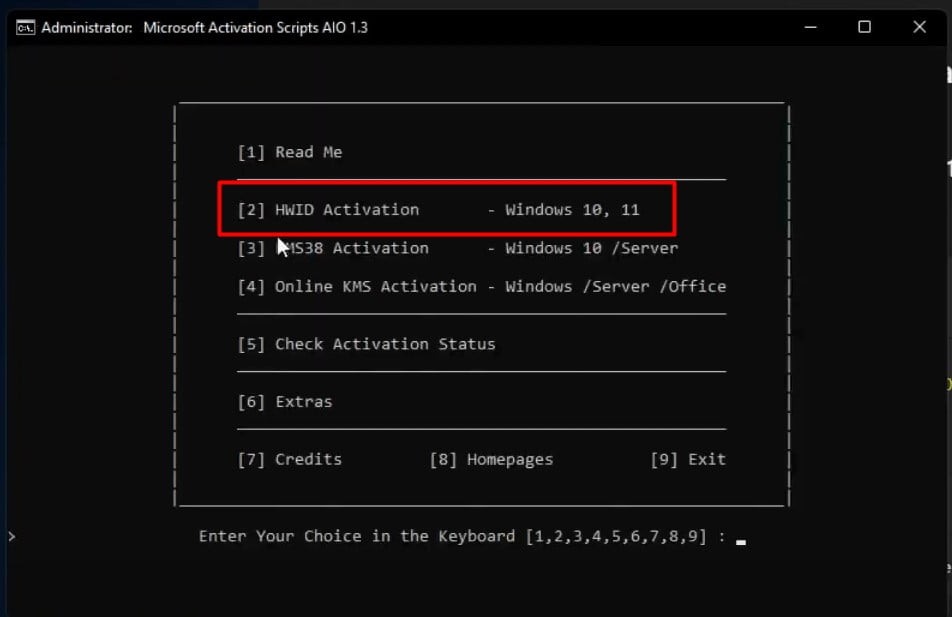
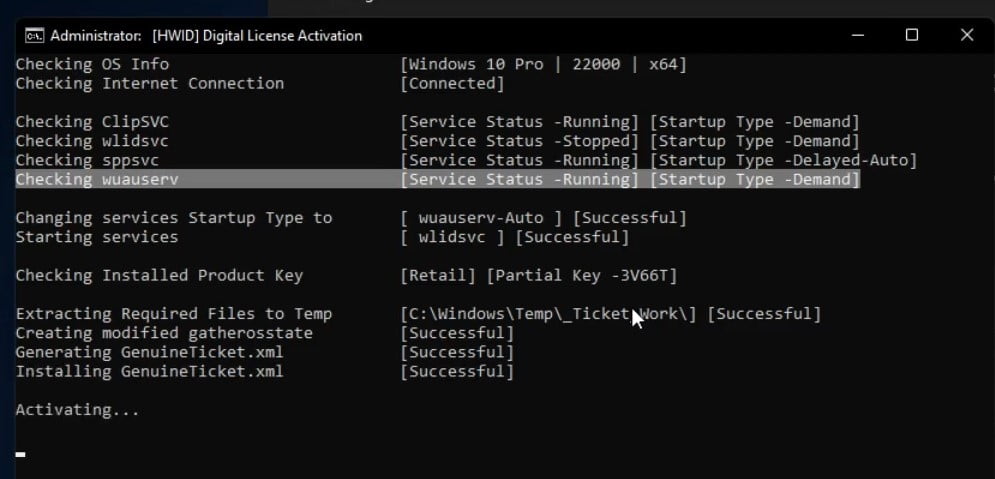
3. Now, let’s activate Windows 11. To activate Windows 11, you need to press key 2 on your keyboard. And it will begin the process. It will take a minute. After it’s completed, you can see the activation is successful.

4. But anyhow, let’s check the activation status again. Go to Settings > System > Activation. You can see Windows 11 is permanently activated. This is the easiest method to remove and activate Windows 11 watermark permanently.
Method 3, How To Remove Windows 11 Watermark Insider Preview Registry Editor
If you have a Windows license, then you can go to settings, and you can activate Windows PC. But if you don’t have a license, then there is a way to “Remove Activate Windows 11 Watermark” by changing the configuration from the registry editor.
Step 1: Open Run
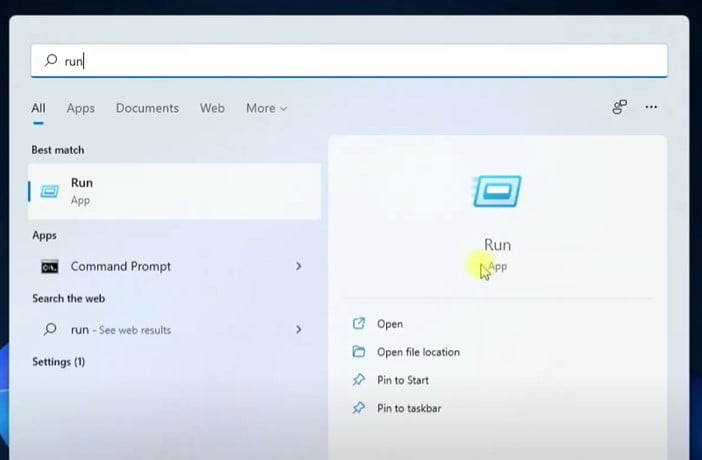
So, the first step is to click on the “Search icon” from the taskbar. Then type “RUN,” then click and open the “RUN” program.
Step 2: Registry Editor
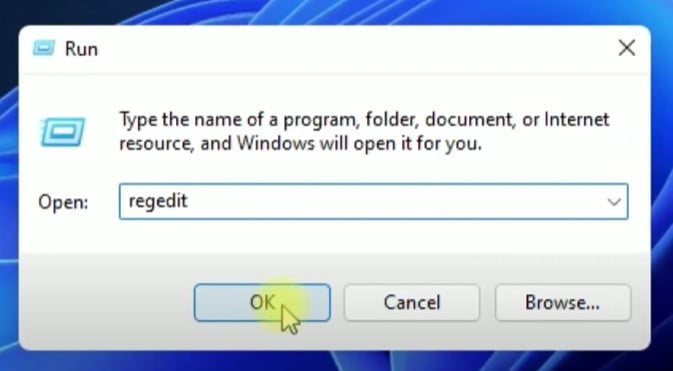
Now, in the input box, type “Regedit” and then click on “OK.”
A user-control permission pop-up will open. Click on “YES” to continue.
Step 3: Open the SVSVC folder.
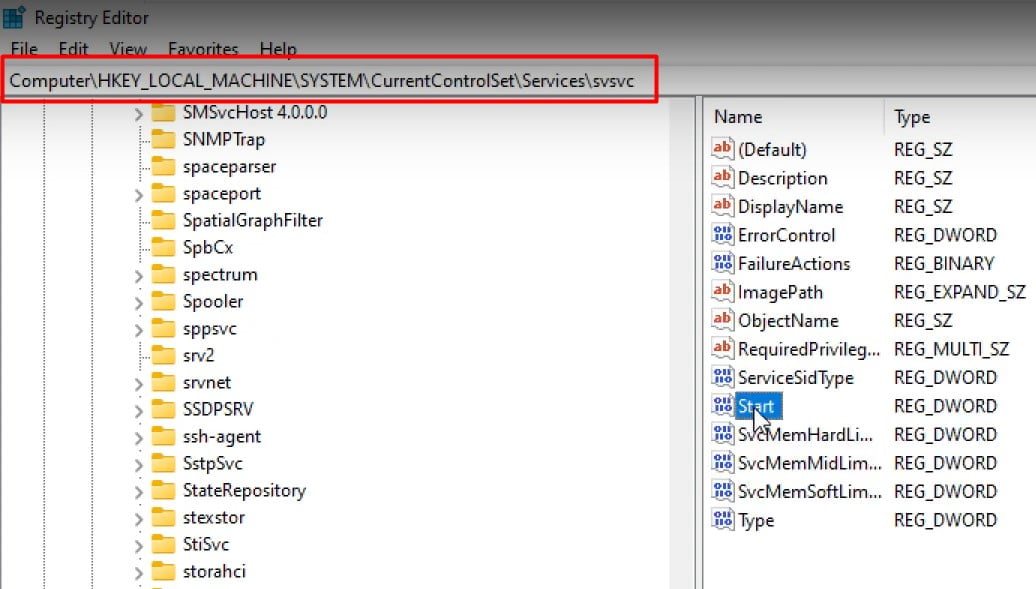
Once “Registry editor” will open. You need to navigate to the following folder.
EXPEND HKEY_LOCAL_MACHINE > EXPEND SYSTEM > EXPEND CurrentControlSet > EXPEND SERVICES > A long folder list will open. Find and select the SVSVC folder here.
Step 4: Modify

Go to the right-side section and Select the “Start” option. Then select the “Modify” option. A small pop-up window will open.
Step 5: Change Value Data

6. In the pop-up, you need to change the “Value data” input. Set the value data 3 to 4. Next, Click on “OK.”
Step 6, Add KMS Folder
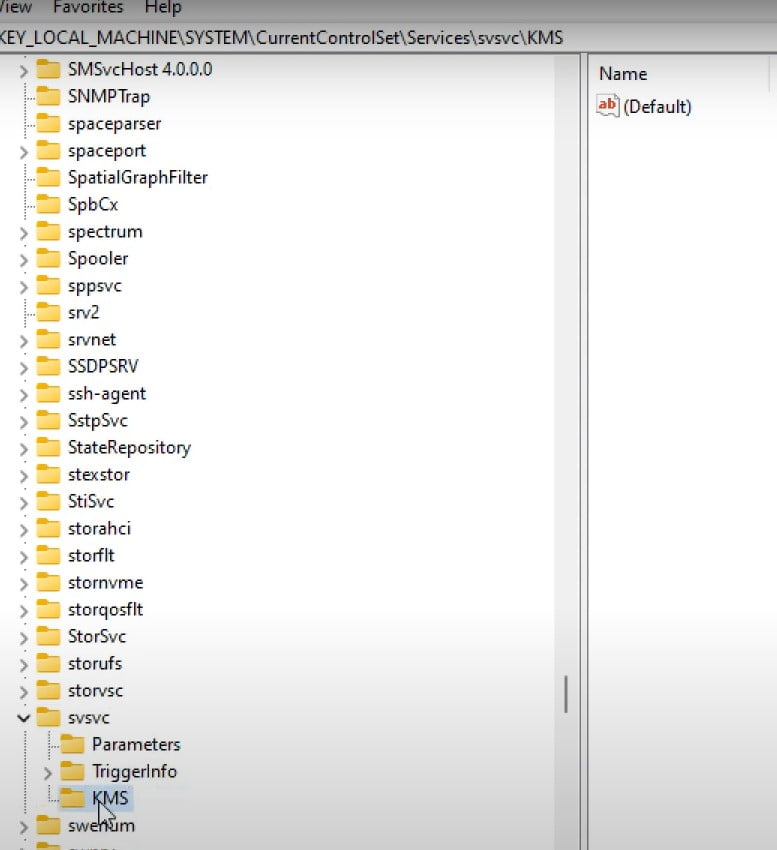
Next, right-click on the blank space, select “new,” and then select “Key.” Name it as “KMS.”
Step 7, Add New Value Data KMS
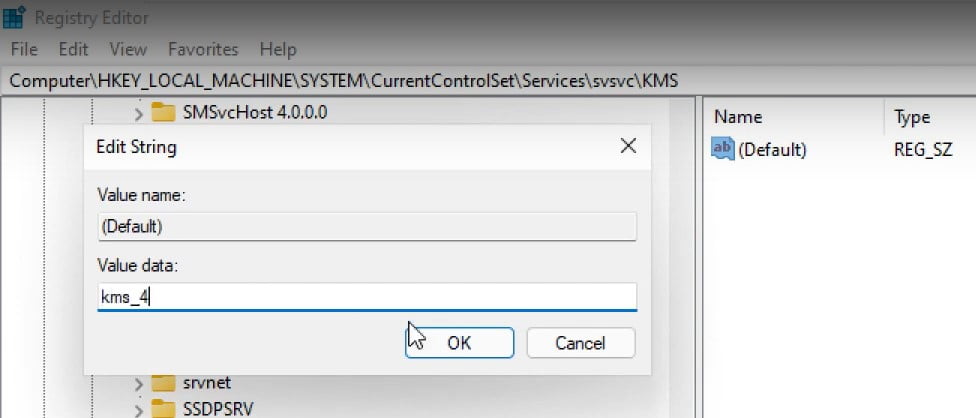
Right-clicking on “Default”> in the pop-up input box gives the input value “kms_4”.Click on “OK.” Now close the Registry editor window.
Step 8: Open Task Manager And Select CMD
Next, Go to search. Search for the task manager. Click and open the “Task Manager.”
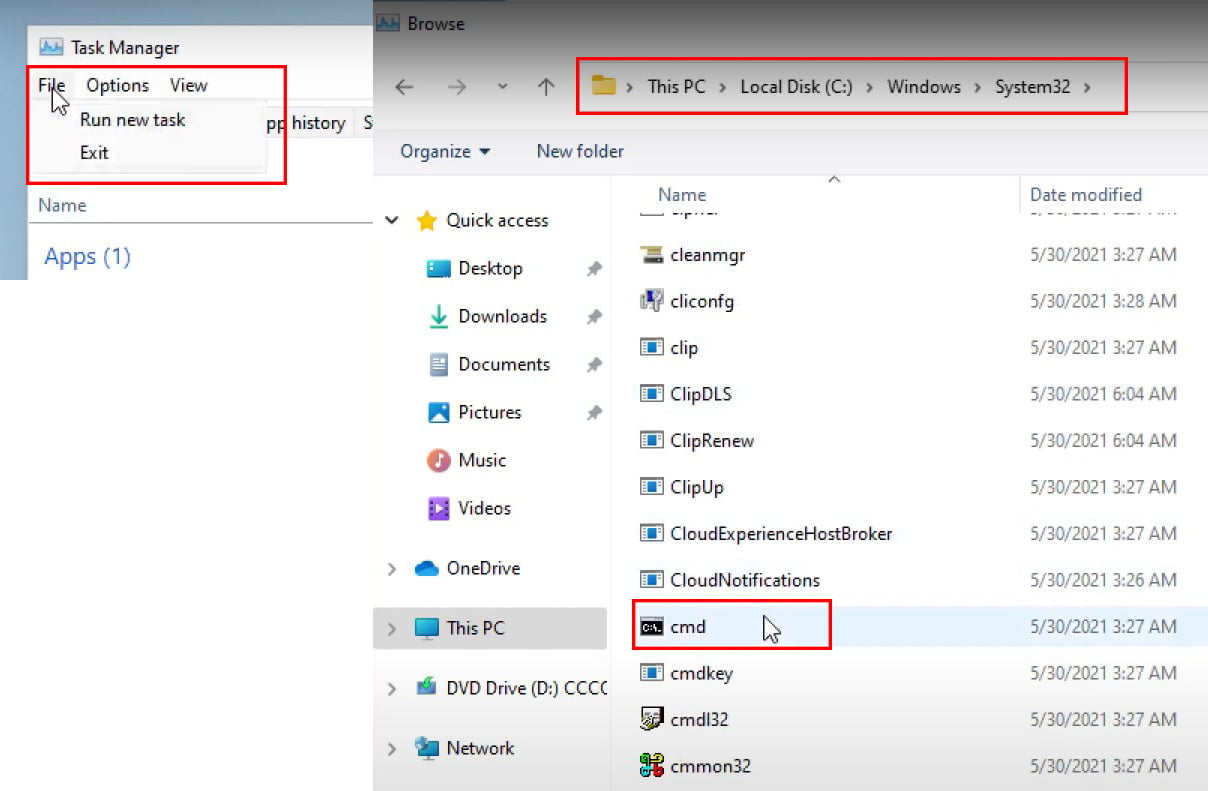
Click on “FIle” and then select “Run new task.” Next, click on “Browse.”
Go to “This PC”> then select “C” drive > go to Windows folder > click on the System32 folder.
In the System32 folder, you need to scroll down and find the “cmd” file. Select it and click on the “Open” option.
Step 9, Add “–Update” To The End Of The CMD.EXE
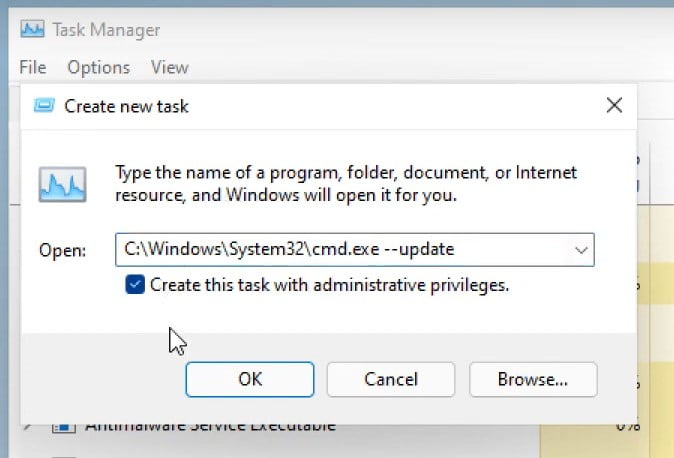
In the Create new task input box. Add a value [space][dash][dash][update] and check the “Create this task with administrative privileges” checkbox. Then Click on “OK.”
For Example: C:\Windows\System32\cmd.exe –update.
Step 10: RUN Command
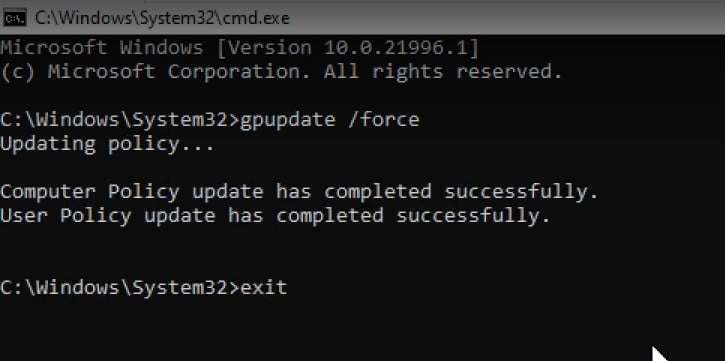
Once the command prompt window opens. Type the following command:
gpupdate /forceNext, Type the “exit” command to close the command prompt.
Read More: How To Fix “This PC Can’t Run Windows 11” error
Step 11: Reopen Registry Editor

Again, go to the “Registry Editor.” and now navigate to the following folder:
EXPAND HKEY_CURRENT_USER > EXPAND Control Panel > Next, Select Desktop.
Step 12: Change The Value Data
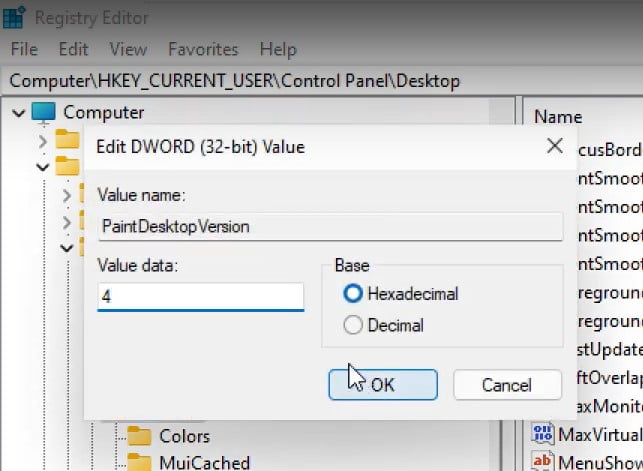
On the right-side section. find the “PaintDesktopVersion.”Right-click on it and select the “Modify” option.
Change and set the input value data from 0 to 4. And then click on “OK.”
Step 13: Restart Your System
Now, you need to “Restart” your System. Now, Your “Remove Activate Windows 11 Watermark” problem will be solved.
Method 4: How To Remove Evaluation Copy Watermark On Windows 11?
This is another method that you use to “remove or activate the Windows 11 watermark” permanently.
Step 1: So what you have to do is just open any notepad file. Go to the search box and Type Notepad> Open it.
Step 2: Now, you need to copy the following text from here (This is a simple command file):
@echo off
taskkill /F /IM explorer.exe
explorer.exe
exit
Step 3: Now, Paste the command into your newly opened Notepad file.

Step 4: Next, click on the File option and click on Save as.

Step 5: Save it anywhere. I am saving it on your desktop. Now name it anything as per your wish. I’m calling it a “watermark”. Save as type all files and give the extension as [.bat]. This is important. [The file name is watermark.bat]
Step 6: Now click on the “Save” button.

Step 6: Navigate to the file—Right-click on that particular file that has been created as watermark.bat. Click on “Run as administrator.” Next, click on Yes to continue. It will run and automatically close.
Step 7: Next, the last thing you need to do is restart your system. Now, you will notice your Windows 11 watermark is removed.
Why is there a watermark at the bottom of my screen?
The Windows 11 watermark, located at the bottom right of the screen, can be an issue for the majority of users. The watermark also indicates the fact that your Windows is not active or activated. Windows don’t have certain features.
What happens if you fail to enable Windows 10?
If the user does not turn on Windows 10, then the user will not get to perform adjustments to the system and thus will not be able to customize the desktop.
What is a Windows product key?
When using these keys, the user can navigate to settings to enable Windows.
Related Queries About Remove Windows 11 Watermark
Remove insider preview watermark Windows 11, remove evaluation copy watermark Windows 10 registry, windows 11 evaluation copy watermark, universal watermark disabler, universal watermark disabler 2021, activate Windows 11, activate Windows 11 permanently, activate Windows 11 pro for free, activate Windows 11 pro product key