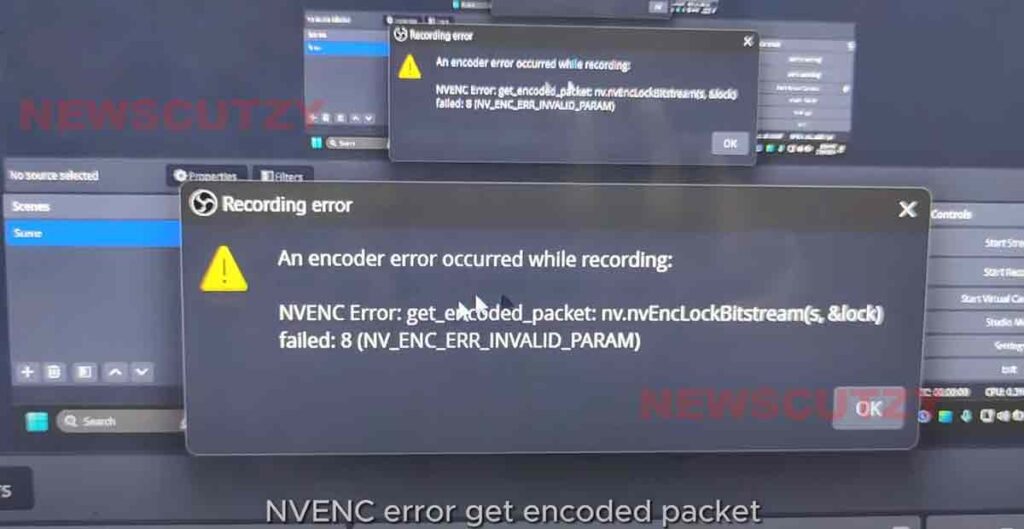
Encountering an NVENC error can be frustrating, especially when you’re in the middle of recording or streaming.
But don’t worry. We’ve covered you with simple solutions to get you back on track.
What is The Error Code?
NVENC Error: get_encoded_packet: nv.nvEncLockBitstream(s, &lock) failed: 8 (NV_ENC_ERR_INVALID_PARAM)
The NVENC error is like a hiccup when your computer tries to turn videos into a format that can be easily stored or streamed. It’s like your computer saying, “Oops, I got confused while packing this video up.”
This error usually pops up when there’s something not quite right with your graphics card or the software that’s supposed to tell it what to do. In short, it’s your computer’s way of telling you it needs some help to get the video encoding job done right.
What causes NVENC Error: get_encoded_packet
The NVENC error typically pops up due to issues with your graphics card or its drivers. Here are a few reasons why you might be seeing this error:
- Outdated or Corrupted Drivers: If your GPU drivers are not up to date or have become corrupted, they can cause encoding errors.
- Incompatible Software Versions: Software updates can sometimes lead to hardware compatibility issues.
- System Overload: Your system might be overloaded, especially if running multiple high-intensity programs simultaneously.
- Fix Liftmaster Error Code 1-5
- Fix PS5 Error Code WV-109156-2
- How To Fix SKYUI Error Code 5? What is Error Code 5?
How To Fix nvenc Error Get Encoded Packet?
The “NVENC Error: get_encoded_packet” error indicates an issue with the NVENC encoder, a hardware-accelerated video encoder built into Nvidia GPUs. Here are some potential solutions to fix it:
Update or Reinstall GPU Drivers
Updating Drivers
- Download the Latest Drivers: Visit NVIDIA and select your graphics card and system details to download the latest drivers.
- Install the Drivers: Open the downloaded file and follow the on-screen instructions to install the drivers. You can choose the ‘Express’ option for a quick installation or ‘Custom’ to select specific components.
Reinstalling Drivers
- Uninstall Current Drivers: Go to ‘Device Manager’ > ‘Display adapters’, right-click on your NVIDIA GPU, and select ‘Uninstall device.’
- Install New Drivers: After uninstalling, run the driver installer you downloaded from NVIDIA’s website and follow the instructions for a fresh installation.
Roll Back to a Previous Driver Version
- Access Device Manager: Press Win + X and select ‘Device Manager.’
- Navigate to GPU Properties: Expand ‘Display adapters,’ right-click on your NVIDIA GPU, and choose ‘Properties.’
- Roll Back the Driver: Go to the ‘Driver’ tab and click ‘Roll Back Driver.’ Follow the prompts to revert to the previous driver version.
Change Encoding Settings
- Open Streaming Software: Launch your streaming software like OBS or Streamlabs.
- Access Output Settings: Go to ‘Settings’ > ‘Output’ and look for the ‘Encoder’ setting.
- Switch Encoder: Change the encoder from hardware (NVENC) to software (x264) to use CPU encoding instead of GPU.
Reduce System Load
- Close Unnecessary Programs: Shut down any applications that are not essential for your current task to free up system resources.
- Monitor System Performance: Use the Task Manager to monitor CPU and GPU usage and ensure they are not being overworked.
Check for Conflicting Software:
- Other software using the GPU simultaneously can cause conflicts. Close any unnecessary applications running in the background, especially those that utilize video encoding or capture, before attempting to use NVENC.
Adjust NVENC Settings (if applicable):
- Try adjusting the encoder settings using software like OBS Studio with NVENC encoding. Lowering the bitrate or encoder preset may alleviate the issue. Refer to the software’s documentation for specific instructions on adjusting these settings.
Hardware Issues (last resort):
- If none of the software solutions work, the issue might be hardware-related. Consider contacting Nvidia support or a qualified technician for further assistance.
Perform a Clean Installation
- Download New Drivers: Before uninstalling the current drivers, download the latest ones from NVIDIA’s website.
- Uninstall Current Drivers: Use ‘Device Manager’ or a dedicated software like DDU (Display Driver Uninstaller) to remove the current drivers.
- Install New Drivers: With the old drivers removed, run the new driver installer and select ‘Custom’ installation with the ‘Perform a clean installation’ option checked. This will remove all old driver files before the new ones are installed.
Remember, if you’re uncomfortable performing these steps yourself, it’s always a good idea to seek help from a tech-savvy friend or a professional. With these tips, you should be able to fix the NVENC error and get back to recording or streaming without any hiccups.
