
Photo to Paint converter software: A few ARTISTS USE photographs as the reference point for their painting art works. To be sure, it takes artistic expertise to catch a decent painting art photo. In this post, we will explain how to Convert a Photo into a Painting.
The market has a few free Photo painting converters; you can easily convert a photo into a painting using Painter Essentials 7 (Windows/Mac).
Picture takers need to painstakingly make a picture that catches the excellence of a landscape or produces a complimenting representation of a human or pet.
Be that as it may, while you may have aced the specialty of photo painting, you may not be so talented at reproducing a view by applying paint to canvas.
Luckily, Painter Essentials 7 empowers you to convert your artfully made photograph’s unique tones, colors, and subtleties into paint-like strokes that render your subject a persuading painting.
A painter can emulate the scope of an artistic photo, for example, oil or watercolor. Painter additionally offers an auto-painting mode to convert any Photo to a Painting of art utilizing a specific style.
You could then utilize a scope of brush tips to paint in key subtleties physically.
Painter’s computerized brush tools carry on like physical brushes, so you can put painted strokes that follow your subject’s shape and include that terrifically significant human touch to your work.
We’ll show you how to convert a photo into an oil painting automatically, add detail with manual strokes, and then use filters to add a 3D texture that mimics the thick edges of smeared oil paint.
We’ll also demonstrate how to use the layers feature to mix oil paint strokes on one layer with finer pencil details on another.
We’ll tell you the best way to Convert a Photo into Painting naturally, include detail with manual strokes, and afterward, use the effect to include a 3D surface that impersonates the thick edges of spread paint.
We’ll additionally exhibit how to utilize the layers highlight to blend oil paint strokes on one layer with better pencil subtleties on another.
Convert a photo into a painting using a few Tools

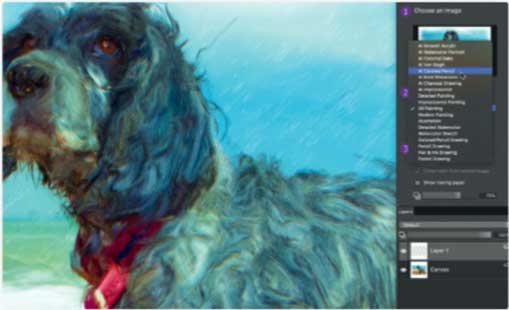
A. STYLE
Pick an artistic photo from the Auto-Paint option, and the Painter will paint the photo in that style.
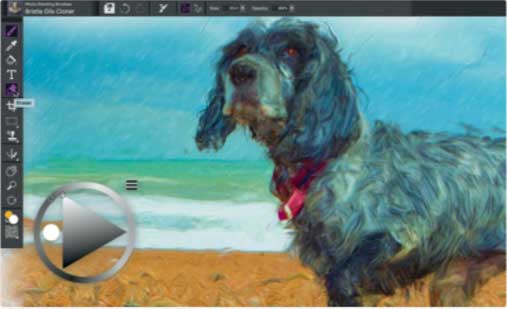
B. BRUSH TIPS
Snap here to get to brushes. We’ve picked an Oil tip to spread our photograph’s pixels sensibly.
C. GO MANUAL
When the auto-painting has been completed, you can uncover subtleties by painting over the photograph by hand.
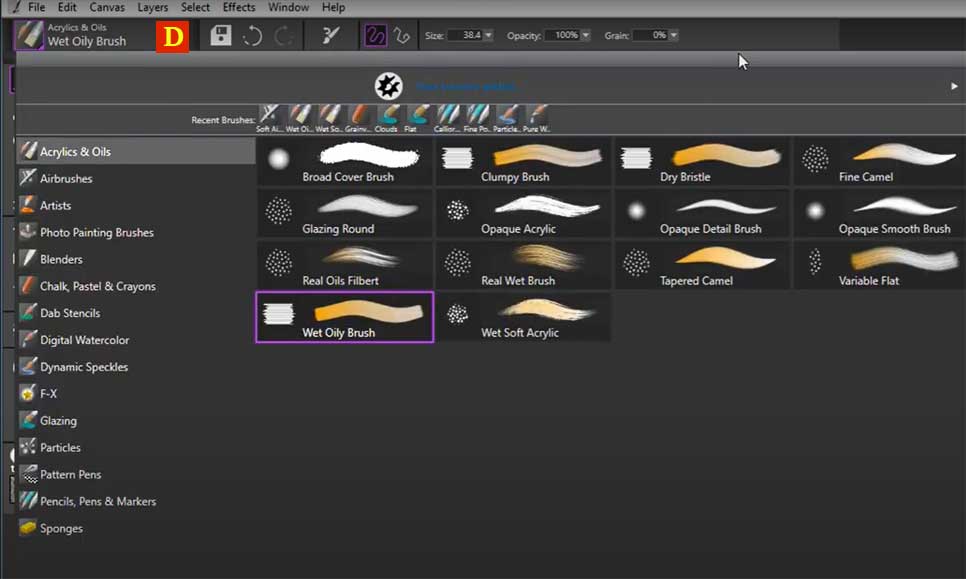
D. SOURCE
Pick an appropriate photo to convert over into paint-like strokes. Here we’ve gone for a pet photo.
Read More: How To Record Video Call On Screen
HOW TO Convert a photo into a Painting
Best photo-to-painting converter software
Open-source Photo
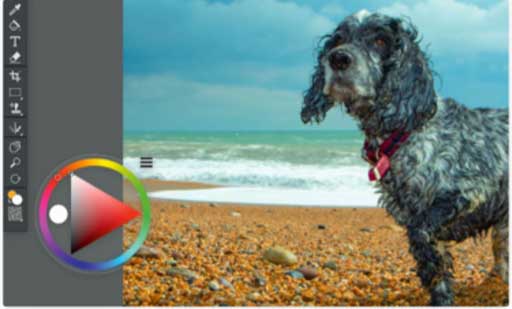
Click on Choose File, then Open and browse to a shot that would be suitable for a painting makeover. Snap the Open option. In the Photo Painting board, Select Use Open Image. Go to the Auto–Paintting menu and select a style, for example, Oil Painting.
Make Auto–paint
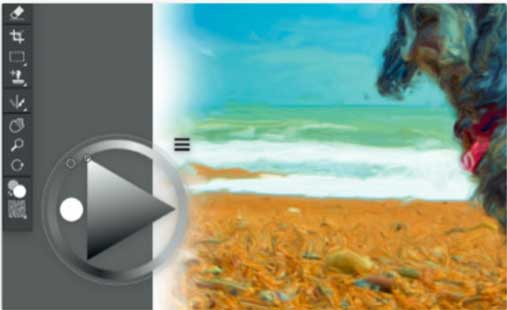
Snap Start. A message shows up saying, “Now Preparing Auto–painting… “ Painter consequently puts brush tips that smear the photo’s pixels into paint-like strokes. At the point when you’re satisfied with the view, click Stop.
Paint by hand
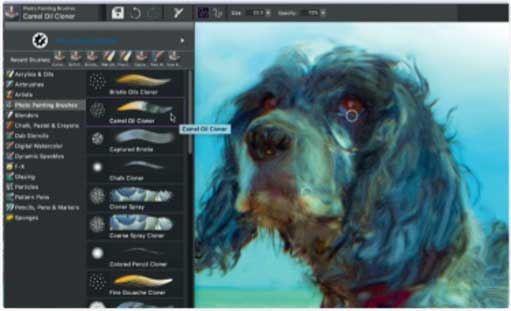
Choose the Brush feature. Snap on the Photo Painting Brushes symbol. Explore the Photo Painting Brushes classification and pick the Camel Oil Cloner effect. Paint over the main highlights, for example, the subject’s eyes, to uncover significant detail.
Blend your media
Explore the Layers board and select New Layer. Explore the Auto–Paint area and pick AI Colored Pencil. Snap Start. The painter will add pencil strokes to the new layer. Snap Stop when enough strokes have been included.
Read More: How To Become A Master In Apple Keynote Presenter
Include texture

Snap on the Canvas layer. Open the Effects pop-up, Look at Surface Control, and Apply Surface Texture. Set Using 3D Brush Strokes. By changing properties, for example, Softness, you can add a decorated edge to your 2D paint shade.
Calibrate layers
You can decrease the Opacity of the AI Colored Pencil layer to create more unobtrusive-looking pencil shades. Utilize the Eraser apparatus to eliminate any naturally positioned pencil shades that don’t work or are too diverting.
Read More: How To Save Phone Batter
Virtuoso TIP: Using Show Tracing Paper, you will able to change the Opacity to blend the main photograph in with the painted layer. This causes you to apply brush tips all the more precisely to uncover details.
Virtuoso TIP: By selecting File > Save, you can spare your artwork as a Painter RIFF (the Corel Painter document format) which protects all layers. To share the canvas on the web, just select File and then Save As and set the kit to JPEG format.
Give us feedback if you successfully Convert a Photo into a Painting.