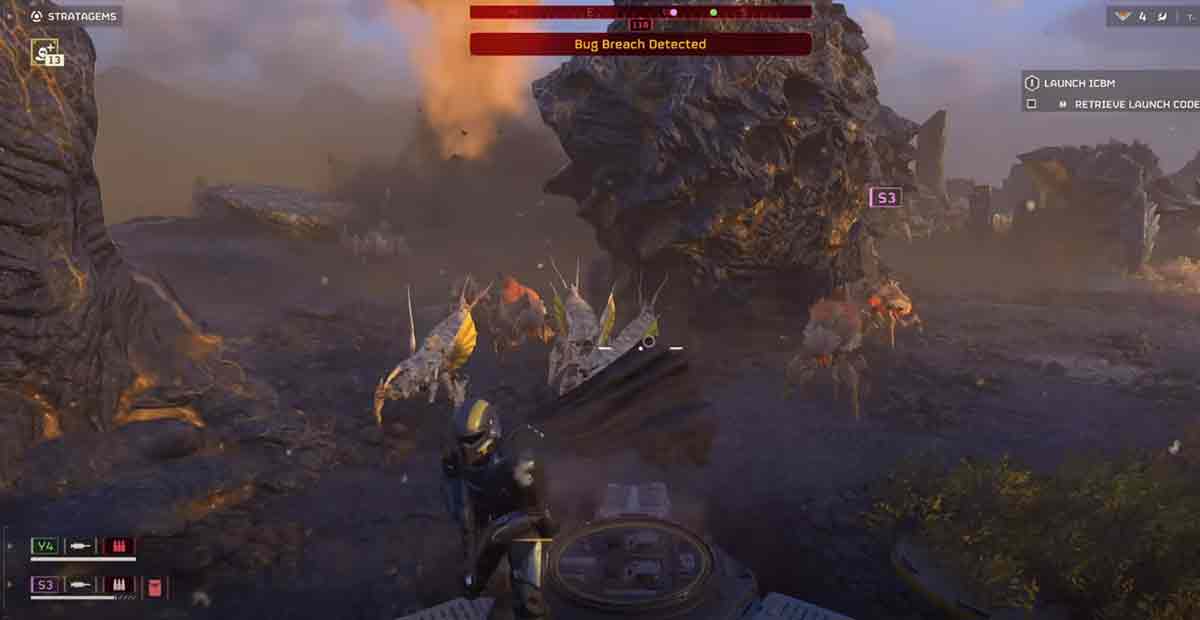
Don’t you want to have the best experience in Helldivers 2? This co-op shooter game is where you and your friends fight aliens on different planets.
It’s a lot of fun, but you must tweak some settings before playing Helldivers 2. They will make the game look better, run smoother, and play easier.
This post will show you the best Helldivers 2 Settings Before Playing for PS5 and PC. I will explain what each setting does and why you should change it. I will also give you some tips and tricks to improve your gameplay.
So, let’s get started.
Change These Helldivers 2 Settings Before Playing On PC & PS5 (MAX FPS)
While I can’t directly change game settings, I can help you understand what settings might be worth adjusting in Helldivers 2 based on common recommendations and community discussions.
How to Make Helldivers 2 Run Faster on PC?
The best way to improve your game’s performance is to use the best Helldivers 2 graphic settings. But there are other things you can do to increase your FPS even more:
Change Graphics Settings: Try reducing graphics settings like texture quality, shadow quality, and anti-aliasing. This will make the game look less sharp and run faster. You need to find the right mix of performance and visuals that works for you;
Update Graphics Drivers: Make sure your graphics drivers are updated. Sometimes, the driver makers release updates that make new games like Helldivers run better. You can check for updates on your graphics card maker’s website or use tools that do it automatically;
Close Background Apps: Close apps and processes you don’t need while playing the game. This includes web browsers, media players, and other software that uses your system resources. Playing Helldivers with less background stuff can free up CPU and RAM, making the game run smoother;
Optimize Hardware: Think about overclocking your CPU and GPU if you know how. Overclocking can give you a performance boost, but you need to be careful and keep your hardware cool to avoid overheating;
Turn Off V-Sync & FPS Limit: Turning off V-Sync and any FPS limits can let your hardware do its best, making the game show as many frames as possible. But this can also cause screen tearing, so you should use a high refresh rate monitor or sync features like G-Sync or FreeSync if you have them.
By following these tips and using the best graphics settings for Helldivers 2 that we have given you before, you can make your game run much better and have fun playing even when the aliens are attacking you.
Here are some key areas to consider:
Setting 1: Remember Aim Mode
The first setting is under Gameplay. It is called Remember Aim Mode. This setting lets you choose how you want to aim with each weapon. Some weapons are better with hip-fire. Some guns are better with scope-in. This setting remembers your choice for each weapon.
So you don’t have to press R3 every time. This saves you time and makes you more accurate.
- Change aim mode to per weapon under gameplay settings.
- Saves time by remembering your preferred aim mode for each individual weapon.
Setting 2: Reticle Visibility
The second setting is under HUD. It is called Reticle Visibility. This setting controls when the reticle shows on the screen. The reticle is the crosshair that helps you aim. You want to change this setting from Dynamic to Visible. This way, the reticle is always on the screen.
Even when you are not aiming, this helps you aim faster and better. You can also change the color of the reticle under Accessibility. I like red or yellow. But you can choose whatever you like.
- Switch reticle visibility from dynamic to visible under HUD options.
- It helps with aiming as the reticle shows on the screen before scoping down your weapon.
Setting 3: Compass Ordinal Directions
The third setting is also under HUD. It is at the bottom. It is called Compass Ordinal Directions. This setting adds more directions to the compass, like north-east and south-west.
This makes it easier to talk to your teammates. You can tell them where the enemies are coming from. Or where to go next. This setting should be on by default.
But it is not. So make sure to turn it on. And tell your friends to do the same. It will make your team work better. Also, while you are in the HUD settings, you can change the size of the HUD.
It is too big by default. I like to make it smaller. It gives me more space to see the game.
- Enable compass ordinal directions to be visible under HUD options.
- Adds middle directions to your compass for more straightforward navigation and communication.
Bonus Setting: Reduce HUD Scale
- Decrease the scale of the HUD for a less intrusive display.
Setting 4: Motion Blur
The fourth setting is under Visuals. It is called Motion Blur. This setting adds blur to the screen when you move fast. It is supposed to make the game look smoother. But it can also make the game look worse, especially if you play in Performance Mode.
This mode gives you higher frame rates. And you want higher frame rates for a fast game like Helldivers 2. So it would help if you turned motion blur down. Or even off.
It will make the game look sharper and more precise. If you play in Quality Mode, you can keep the motion blur on. It will make the game look smoother at lower frame rates.
- Turn motion blur down or off under visual settings.
- Recommended for a smoother gameplay experience, especially in fast-paced action.
Setting 5: Depth of Field
The fifth setting is under Visuals. It is below motion blur. It is called Depth of Field. This setting adds blur to things that are far away or close up. It is supposed to make the game look more realistic. But it can also make the game look blurry.
I wouldn’t say I like that. I want to see everything. So, I turn the depth of field off. It would help if you did the same. It will make the game look better.
- Disable depth of field under visual settings.
- Removes blur effects from objects not in focus, enhancing clarity during gameplay.
Setting 6: Anti-Aliasing (PS5)
The sixth setting is under Visuals. It is below a depth of field. It is called Anti-Aliasing. This setting smooths out the edges of things. It makes them look less jagged and more detailed. You should turn this setting on if you play on PS5.
It will make the game look more beautiful. And it will not affect the performance. You should turn it off if you play on a PC. It can make the game run slower. And you want the game to run fast.
- Enable anti-aliasing for sharper edges, particularly on PS5.
- It may impact performance on the PC, so adjust accordingly.
Setting 7: Sharpness
The seventh and last setting is under Visuals. It is below anti-aliasing. It is called Sharpness. This setting adjusts how clear and crisp the game looks.
You should turn this setting up. It will make the game look amazing. You will be able to see everything better, even from far away. It will make a big difference.
- Increase Sharpness to the maximum under visual settings.
- Enhances clarity of distant objects for improved visibility.
Setting 8: Controller Sensitivity
- Adjust the camera and aim sensitivity to personal preference under controller settings.
- Experiment with acceleration options for smoother camera movement.
Setting 9: Deadzone Adjustment
- Decrease dead zone value until stick drift is noticeable, then add a slight buffer.
- Increases responsiveness of controller input without experiencing drift.
Setting 10: Gyro Aiming
- Enable gyro aiming for alternative control method under controller settings.
- It provides more precise aiming by tilting the controller.
Gameplay Settings
- Crossplay: It’s up to you.
- Aim Mode: Off
- Weapon Functions: Yes
- Weapon Switch Mode: Default
- Window Notifications: Off
- Allow Data Collection: Yes
- Hood Scale: Setting it to 0.9 can improve visibility slightly.
- Objective and Pin Visibility: Ensure they are set to “Visible” for better awareness.
Graphics Settings
- Resolution: Choose according to your setup
- Render Scale: Native
- Motion Blur: Off
- Depth of Field: Off
- Bloom: On (Optional)
- Sharpness: 75 (Optional)
- Texture Quality: Adjust for FPS optimization
- Antialiasing: On
- Render Scale: This can significantly impact performance. If you prioritize FPS, consider setting it to “Native” for a slight visual downgrade but smoother gameplay. For higher resolutions like 1440p or 4K, “Ultra Quality” might be an option.
- Texture Quality: Adjust based on your VRAM availability. Lower settings can improve performance on machines with limited VRAM.
- Object Detail Quality: Medium is often recommended to balance visuals and performance.
- Shadows, Particles, Reflections, and other effects: These can be lowered for a performance boost, but experiment to find a balance between visuals and smoothness you prefer.
- Anti-Aliasing: Disabling it can improve FPS, but be aware of potential aliasing artifacts.
Audio Settings
- Master Volume: Adjust as needed
HUD Settings
- UI Brightness: Adjust to your preference
- Stamina Visibility: Dynamic
- Reticle Color: Yellow (Recommended)
- Compass: Visible
- Map Navigation: Keep On
Controller Settings
- Sensitivity: Adjust to your preference
- Button Mapping: Customize as needed
- Best Helldivers 2 ROG ALLY Graphics Settings & MAX FPS Performance
- Best Helldivers 2 Steam Deck Graphic Settings – Is it Playable?
- Best Helldivers 2 Settings Explained [Max FPS + Graphic Settings]
Use Various Aiming Modes
Aiming Modes
Change the aiming mode to aim with your weapons. There are three modes: hip-fire, scope-in, and toggle. Hip-fire is shooting without aiming. Scope-in is pressing R3 to aim. The toggle is pressing R3 once to aim and again to stop.
Try different aiming modes and see what works for you. Some weapons are better with hip-fire, some with scope-in. You can also change the aiming mode for each weapon in the loadout menu. The game will remember your choice.
Weapon Selection and Pickup Modes
Change the weapon selection and pickup mode to switch and pick up weapons. There are two modes: hold and tap. The hold holds L1 to open the weapon wheel and select a weapon. Tap is tapping L1 to cycle through your weapons.
Change this setting to tap. It’s faster and easier than holding L1. You can also pick up weapons from the ground by tapping L1. This way, you can swap weapons quickly and try different ones.
Change the map navigation mode to open and use the map. There are two modes: default and alternate. The default is pressing the touchpad to open the map and using the right stick to move the cursor. Alternate is pressing the touchpad to open the map and using the left stick to move the cursor.
Change this setting to alternate. It’s more intuitive and comfortable than using the right stick. You can also use the right stick to zoom in and out of the map. This way, you can see more details and plan your strategy.
Change Graphics and HUD Settings Before Playing Helldivers 2 On PS5
Change the graphics and HUD settings to make the game look better and show less info on the screen. Here are some options to change:
- Turn off motion blur. It makes the screen blurry when you move fast. It isn’t good for a fast game like Helldivers 2.
- Turn off the depth of field. It makes the things that are far or close get blurry. It tries to make the game realistic but can make it worse.
- Turn on anti-aliasing. It makes the edges of things smooth. It makes them look natural and not jagged.
- Turn up sharpness. It makes the game crisp and clear. Sharpness adjusts the clarity and contrast of the image. It makes everything bright and beautiful.
- Change the HUD scale to make the HUD smaller. The HUD shows things like your health, ammo, and objectives. You don’t want them to block your view. You can make them smaller and see more of the game.
How do we change the controls in the accessibility settings?
Go to settings > controller setting > change binds.
By optimizing these settings, you can enhance your Helldivers 2 experience for smoother gameplay and improved performance.