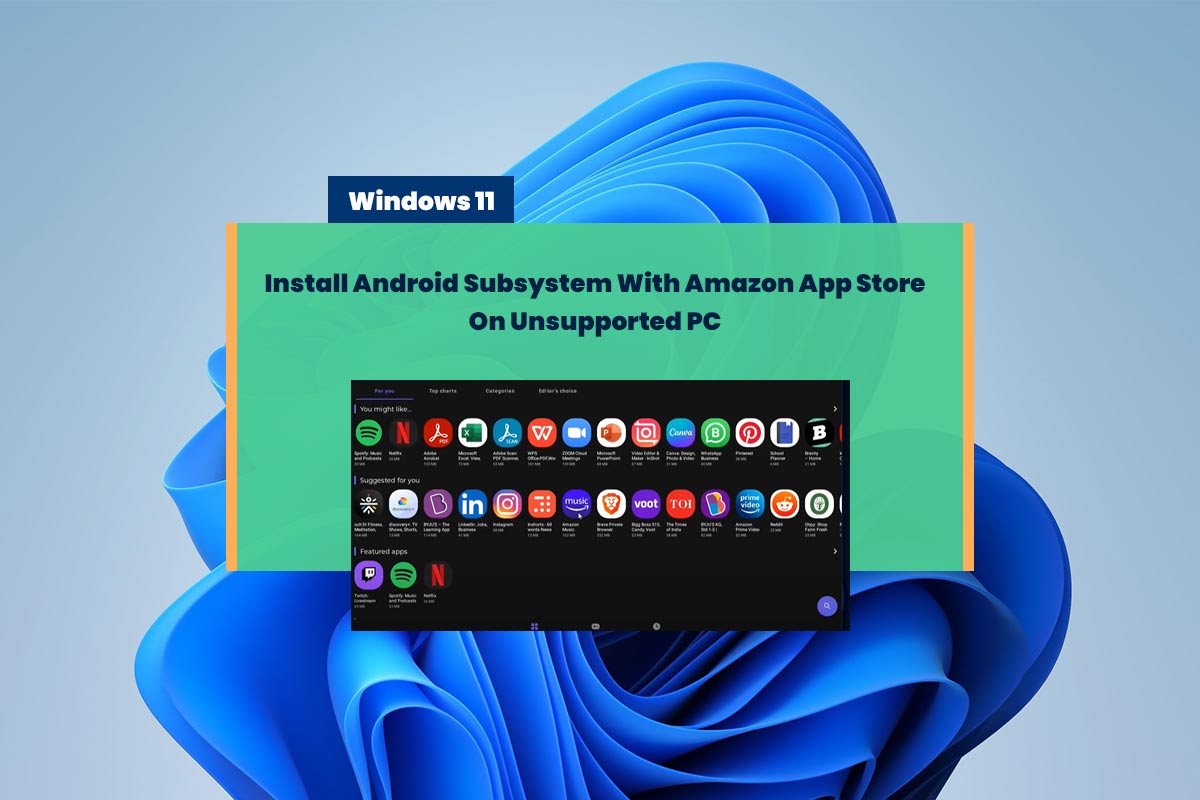
Install Google Play Store On Windows 11 – WAS (With Root)
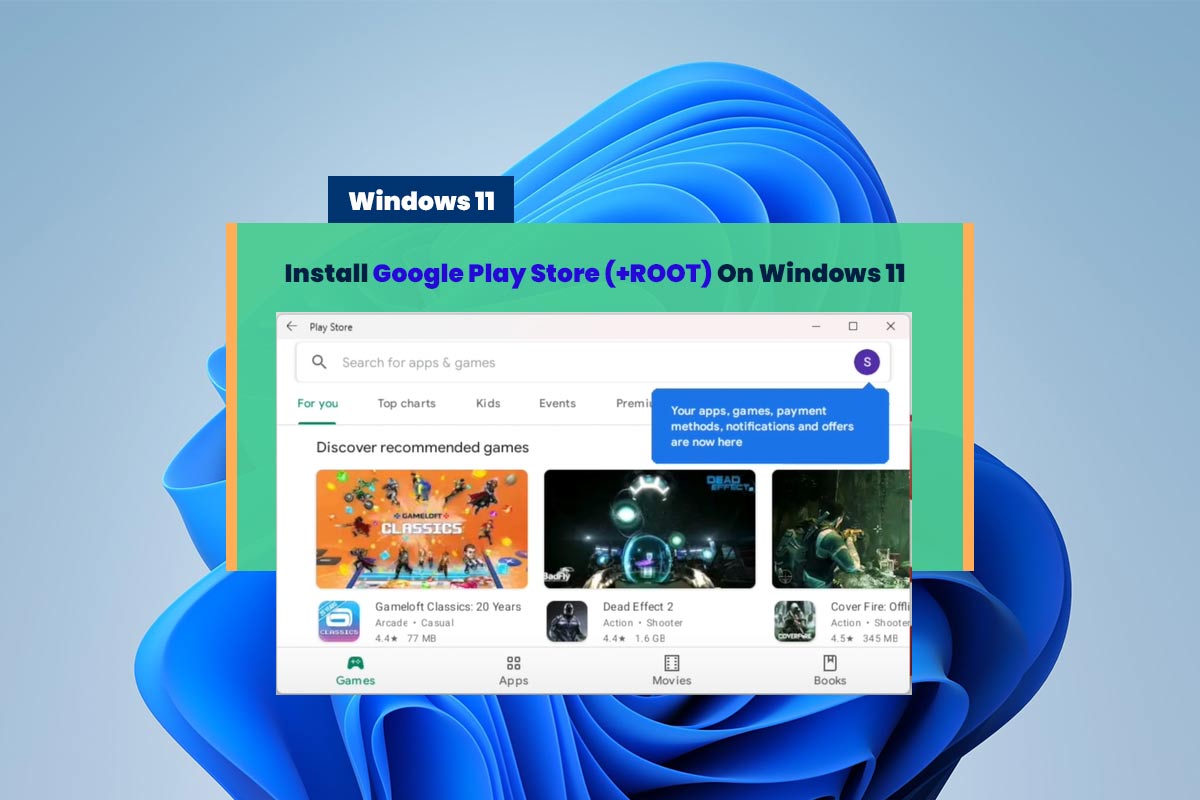
Install Google Play Stor On Windows 11 With Root [Windows Subsystem For Android]: I’ll show you how you can go ahead and install the Google Play Store on Windows 11 and Google Play Services on the Windows subsystem for Android. Some applications, including Snapchat, don’t work until the Google Play Store services are installed. And, …